In today's microservices architecture, APIs have become the backbone of modern application development. As applications grow in complexity and scale, managing numerous microservices and their interactions becomes increasingly challenging.
This is where an API Gateway comes into the picture - a powerful pattern that brings organization and efficiency to your microservices ecosystem.
Understanding API Gateway
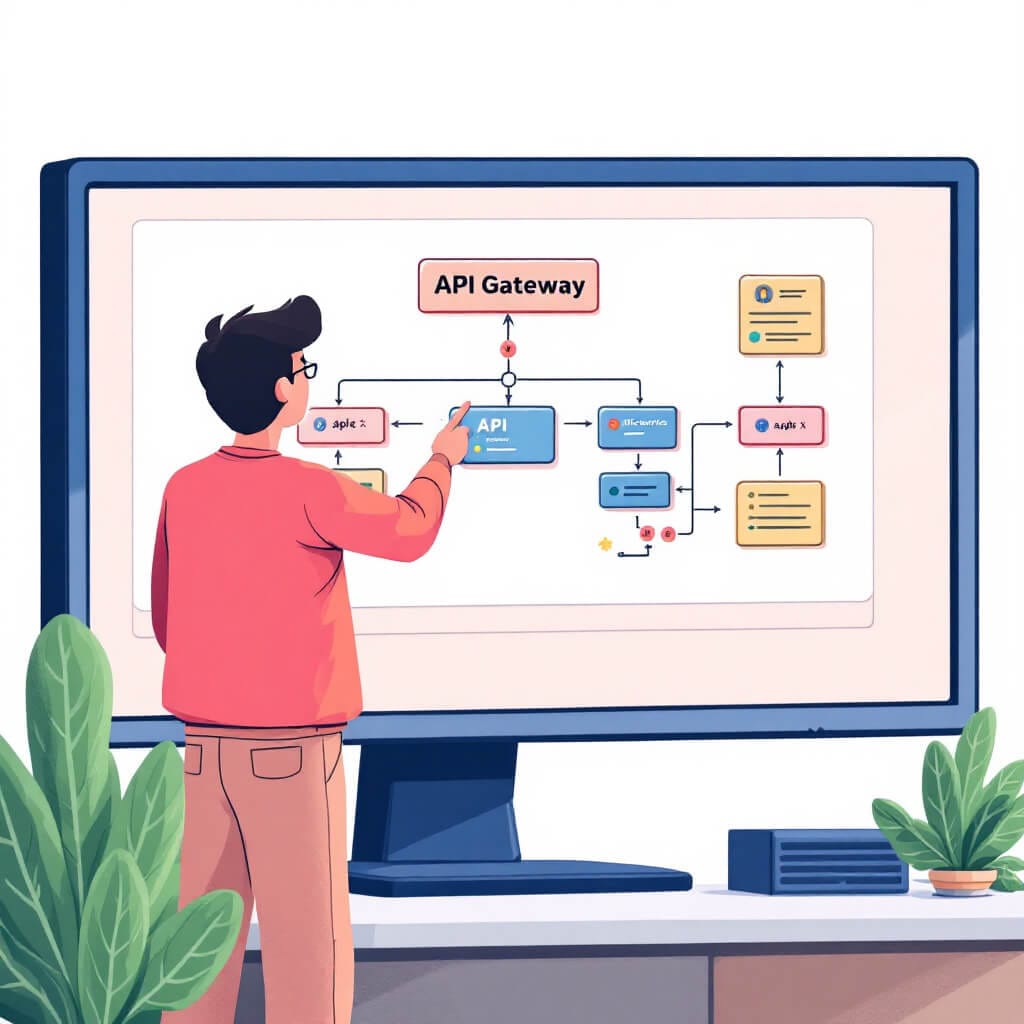
An API Gateway acts as a single entry point for all client requests to your microservices architecture. Instead of clients communicating directly with individual services, all requests are routed through the gateway, which then directs them to the appropriate microservice.
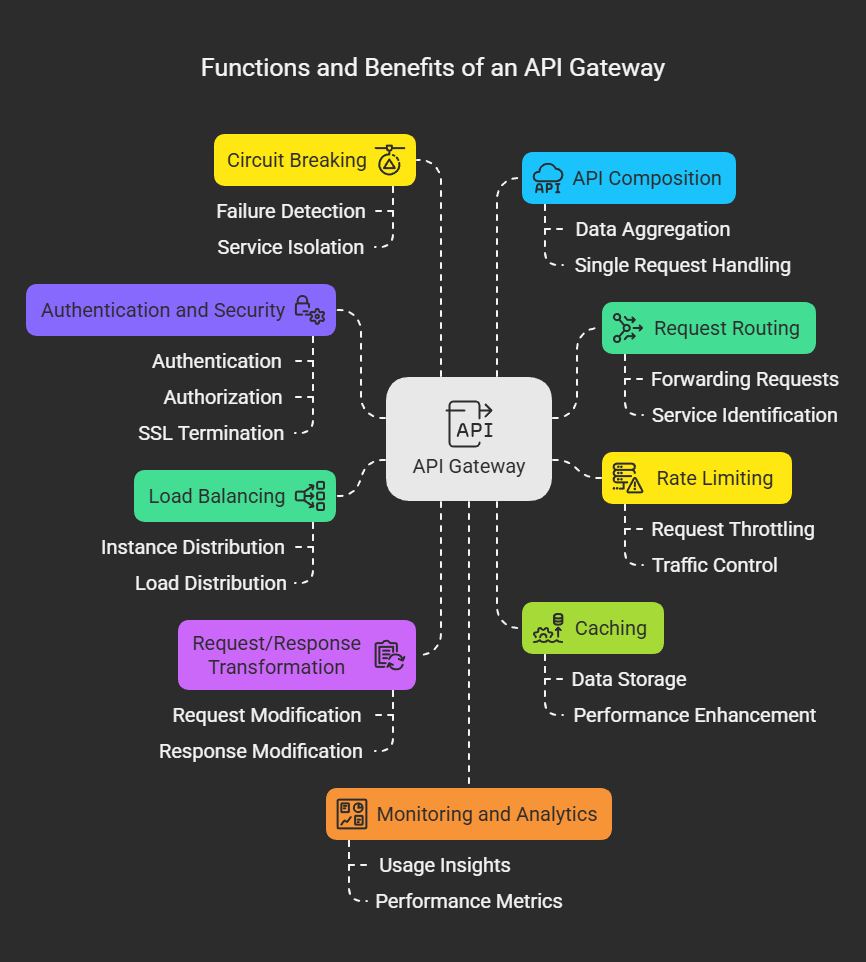
Key Functions of an API Gateway
- Request Routing: Forwards client requests to the appropriate microservice.
- Authentication and Security: Centralizes security concerns like authentication, authorization, and SSL termination.
- Rate Limiting: Protects backend services from being overwhelmed.
- Load Balancing: Distributes traffic across multiple instances of services.
- Request/Response Transformation: Modifies requests and responses as needed.
- Caching: Stores frequently requested data to improve performance.
- Circuit Breaking: Prevents cascading failures by detecting and isolating failing services.
- API Composition: Aggregates data from multiple services for a single client request.
- Monitoring and Analytics: Provides insights into API usage and performance.
Implementing an API Gateway with Spring Cloud Gateway
Spring Cloud Gateway is a powerful library built on Spring Boot that makes creating an API gateway straightforward. Let's walk through how to implement it.
Prerequisites
- Java 17 or higher
- Maven or Gradle
- Basic understanding of Spring Boot
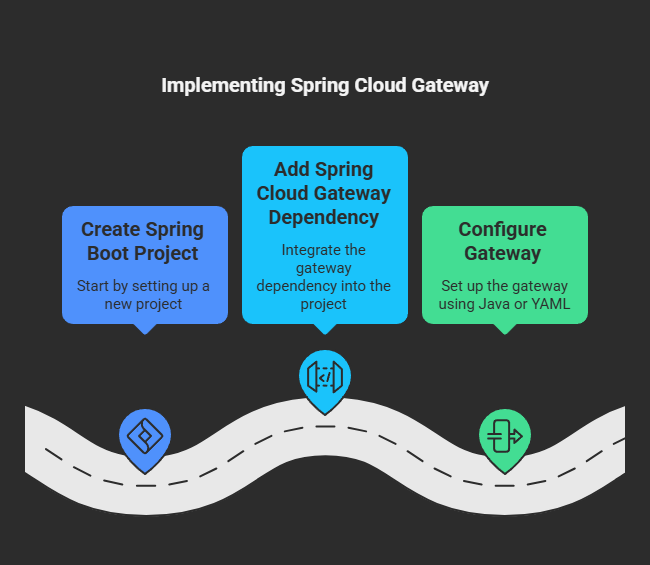
Step 1: Set Up Your Project
Start by creating a new Spring Boot project. You can use Spring Initializr with the Spring Cloud Gateway dependency.
For a Maven project, your pom.xml should include:
<dependencies>
    <dependency>
        <groupId>org.springframework.cloud</groupId>
        <artifactId>spring-cloud-starter-gateway</artifactId>
    </dependency>
</dependencies>

<dependencyManagement>
    <dependencies>
        <dependency>
            <groupId>org.springframework.cloud</groupId>
            <artifactId>spring-cloud-dependencies</artifactId>
            <version>${spring-cloud.version}</version>
            <type>pom</type>
            <scope>import</scope>
        </dependency>
    </dependencies>
</dependencyManagement>
Step 2: Configure Your Gateway
Spring Cloud Gateway can be configured using either Java configuration or properties files. Let's look at both approaches:
Using application.yml
server:
  port: 8080

spring:
  application:
    name: api-gateway
  cloud:
    gateway:
      routes:
        - id: user-service
          uri: http://user-service-host:8081
          predicates:
            - Path=/users/**
          filters:
            - RewritePath=/users/(?<path>.*), /$\{path}
            - AddRequestHeader=X-Gateway-Source, api-gateway

        - id: product-service
          uri: http://product-service-host:8082
          predicates:
            - Path=/products/**
          filters:
            - RewritePath=/products/(?<path>.*), /$\{path}

      default-filters:
        - name: RequestRateLimiter
          args:
            redis-rate-limiter.replenishRate: 10
            redis-rate-limiter.burstCapacity: 20
Let's break down this configuration:
server.port: Defines the port on which the API Gateway runs (8080)spring.application.name: Names your gateway servicespring.cloud.gateway.routes: The array of route definitions
For each route:
id: A unique identifier for the routeuri: The destination service URL where requests will be forwardedpredicates: Conditions that must be met for a request to match this routePath=/users/**: Matches any request path that starts with "/users/"
filters: Transformations applied to the request or responseRewritePath=/users/(?<path>.*), /$\{path}: Removes the "/users" prefix before forwardingAddRequestHeader: Adds a custom header to the forwarded request
The default-filters section applies filters to all routes. Here, the RequestRateLimiter limits the number of requests allowed per time unit to prevent overloading services.
Request Flow Example
To understand how this works in practice, let's follow a request through the gateway:
- A client sends a request to:
/users/123/profile?detail=full - The gateway checks if the request matches any route:
- The path starts with
/users/, so it matches ouruser-serviceroute
- The path starts with
- The gateway applies the default filters first:
- Adds
X-Request-Source: Gatewayheader to the request
- Adds
- Then the gateway applies the route-specific
StripPrefix=1filter:- Original path:
/users/123/profile?detail=full - After filter:
/123/profile?detail=full
- Original path:
- The request is forwarded to the destination:
- Final URL:
http://user-service:8081/123/profile?detail=full - With the added header:
X-Request-Source: Gateway
- Final URL:
- The service responds, and the gateway applies response filters:
- Adds
X-Powered-By: Spring Cloud Gatewayheader to the response
- Adds
- The gateway forwards the complete response back to the client
This simple flow is the foundation of how Spring Cloud Gateway works. It demonstrates how requests are matched, transformed, and routed through Spring Cloud Gateway.
Custom Filters
For more advanced use cases, you can create custom filter
This custom filter logs each request and its response status, demonstrating how to add functionality beyond the built-in filters.
@Component
public class LoggingFilter implements GlobalFilter {

    private static final Logger log = LoggerFactory.getLogger(LoggingFilter.class);

    @Override
    public Mono<Void> filter(ServerWebExchange exchange, GatewayFilterChain chain) {
        log.info("Request: {} {}",
                exchange.getRequest().getMethod(),
                exchange.getRequest().getPath());

        return chain.filter(exchange)
                .then(Mono.fromRunnable(() -> {
                    log.info("Response status: {}",
                            exchange.getResponse().getStatusCode());
                }));
    }
}
Conclusion
Spring Cloud Gateway provides a powerful and flexible way to create an API Gateway for your microservices architecture.

By understanding the core concepts of routes, predicates, and filters, you can effectively control how client requests are routed to your backend services.
As your architecture grows, you can leverage more advanced features of Spring Cloud Gateway, such as rate limiting, circuit breaking, and request transformation, to build a robust and scalable API layer for your applications.
Happy coding!
Want to learn more?
👉 Read Next: Rate Limiting Using Spring Cloud
👉 Read Next: Circuit Breaking Using Spring Cloud
👉 Read Next: Performance Monitoring Using Spring Cloud